Subject: Return of Rustpuppy report 33
Date: Sunday,
August 06, 2000 8:46 PM
After
all the excitement about the gray/silver slime in the pan of Rustpuppy’s TH350
things settled down to the weekend project. The consensus of the knowledgeable list members was that the
slime was just the normal clutch material deposits. Not a big deal as I had thought.
So the
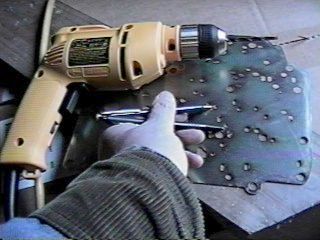
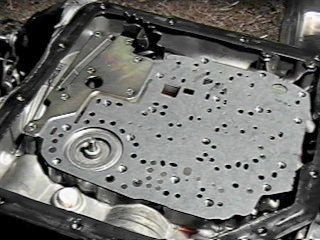
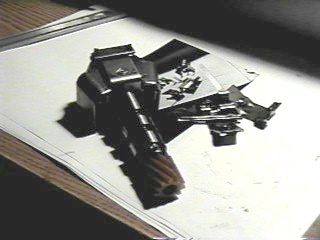
next step is putting in the B&M shift kit street/strip stage. The first thing those rascals do is
have you enlarge two holes in the steel separator plate they provide. (cheap, there should be two separate
kits for heavy duty stage and street/strip stage) I couldn’t help but think of ol’ Ray for some reason while I
was drillin.. (ror33-1.jpg) I deburred the holes to avoid trouble
later..
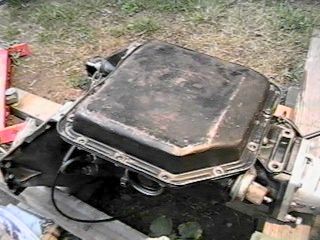
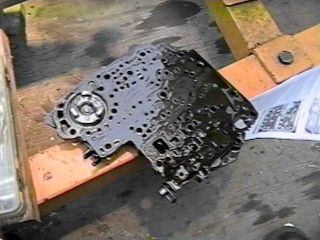
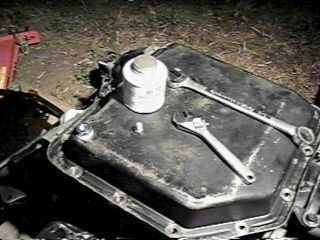
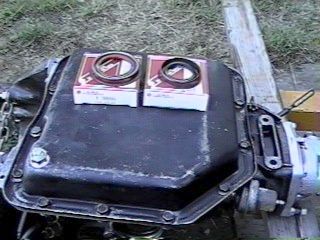
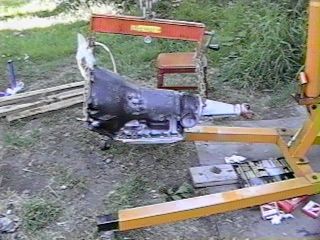
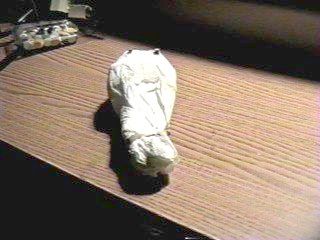
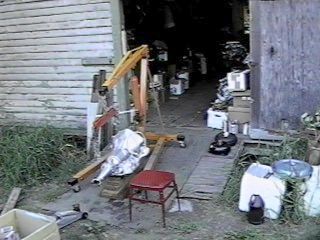
Ror33-2.jpg
shows the sacrificial lamb just before the kit went in. The pan is on to keep the dew out..
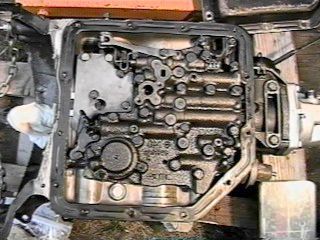
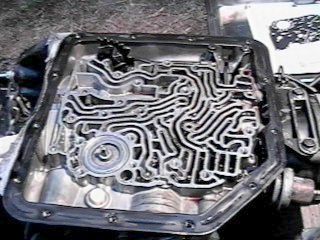
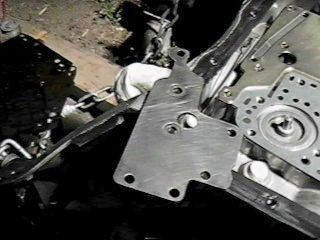
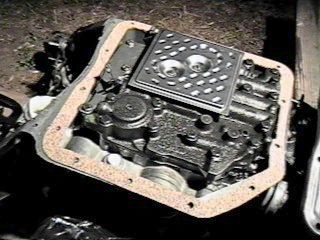
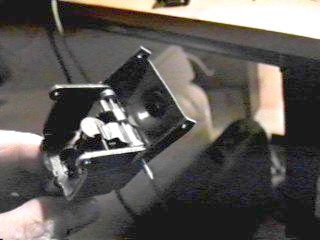
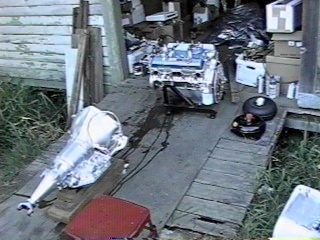
The view under
was pretty nice with good acess to everything. (ror33-3.jpg) I
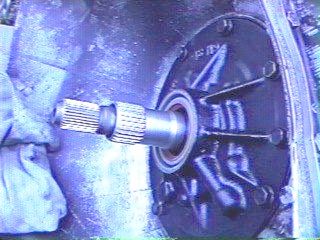
really like doing this kit on the ground with the tranny inverted versus trying
to do it in the car.. What a
nightmare that must be..
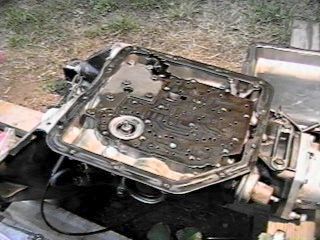
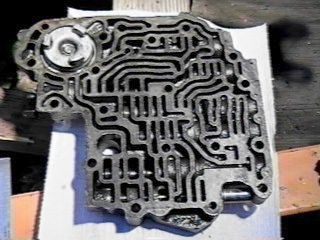
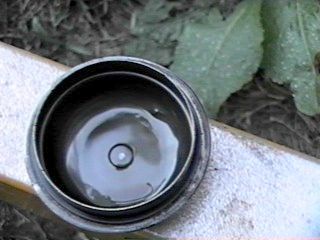
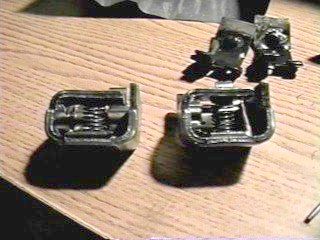
Ror33-4.jpg
shows the gasket footprint of the valve body on the separator plate and it
looks good..
Ror33-5.jpg is the valve body with the gasket adhering.. (Notice the S-link just before losing itself in the grass below..)
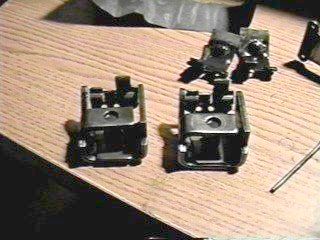
Ror33-6.jpg shows the transmission casting with the four
check balls in place.. B&M has
you discard three of them for the Street/Strip stage.. The balls in this tranny were
brass so I had to fish them out with longnose pliers instead of a magnet (with
nightmare thoughts of losing one down in somewhere bad..) My three brass balls will be the
subject of a later post..
The
valve body looked pretty and the everything about it seemed in tip-top shape.. (ror33-7) I have an ugly story about the accumulator piston showing in
this pic but will cover it in another post later..
The nice
gasket provided by B&M went in first.
I had left the one needed brass ball.. (ror33-8.jpg)

Pressing on recklessly the separator plate went on. (ror33-9.jpg) The pen is pointing at the location of the one brass check ball..
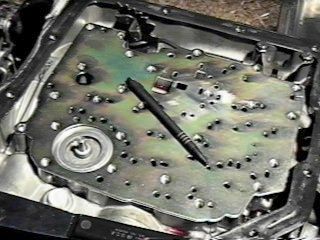
Then the valve body gasket and the two strange metal diversion plates went into place. (ror33-10.jpg) I found traces of gasket material located in odd places all through the previous steps and scraped and sanded it off in each case. (about 9 places) I am going to have to give Tracy trouble about that.. He was the one who last rebuilt this tranny..
The stock separator plate was cleaned up and went on top of the two B&M trick plates.. (ror33-11.jpg)
Then the valve body went back on after frantically
searching for the S-Link lost back in ror33-5.jpg.
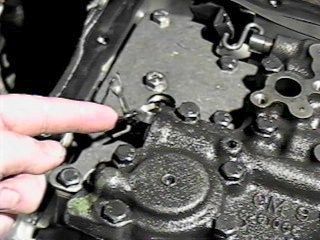
A real
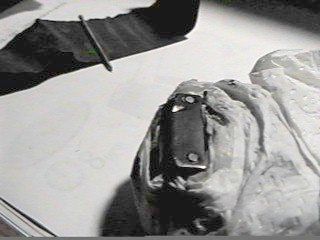
pain in the butt was the little spring clip pivot pin thingie. (pointed to in ror33-12.jpg) It is a three hands thing to install
this simple little part.. I guess
experience is helpful for some of this stuff..
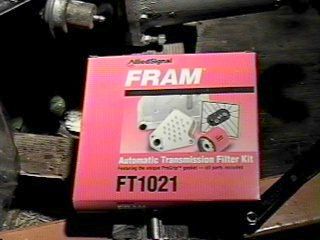
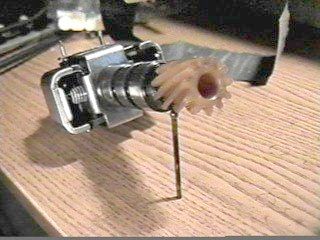
I remembered to install the filter (thinkin of Dave
McLelland for some reason.. ror33-13.jpg)
Then it
was time for some fun stuff.
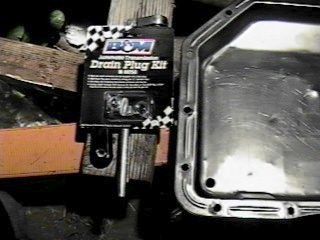
Installing the B&M drain plug kit.
You can
see the neat deburred ½” hole I popped into the pan.. (drillpresses is good, see ror33.14.jpg) A little wrench work and some
good ol’ teflon paste on the plug and it was done.. (ror33-15.jpg)
B&M
sent a pretty nice cork/rubber gasket in the kit but it was distorted and took a
lot of fooling around to get the pan bolts lined up.. (ror33-16.jpg)
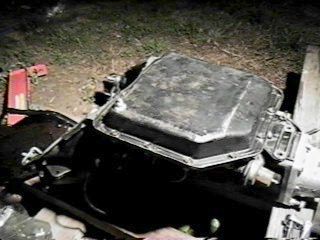
Last (I
bet you are happy to hear that.) the pan is on and torqued and ready for the
next “Transmission Madness Episode”..
ror33-17.jpg..
Rick
Draganowski
(more to
come..)
Subject: Return of Rustpuppy report 34
Date: Monday,
August 07, 2000 9:29 PM
After
the fun installation of the shift kit I pressed on to the final details of
getting the TH350 ready to mate up to Goody. I have been told and it makes sense to me that regardless of
the condition of the transmission seals to replace them every time you get a
chance. It is a royal pain in the
butt doing the rear one and impossible to do the front one in the car.
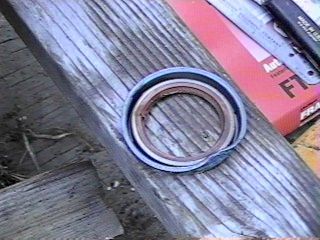
So you
can see the first step in ror34-1.jpg.. Good NAPA seals for about six bucks.. (cheap insurance)
Ror34-2.jpg shows the front one after removal. (they always look bad after my removal technique.. hehehehe..)
The new front seal ready for the precision installation. (ror34-3.jpg) Note the shine on the seal. That is from the transmission fluid wiped on the mating surface to help with the installation.
Ror34-4.jpg shows the high-tech precision installation tool.. And the removal attachment too..
Ror34-5.jpg shows the new seal safely in place with tiny marks all around the circumference..
Ror34-6.jpg has the old seals and the complete removal/replacement tool kit.. The new seal is installed in the rear too..
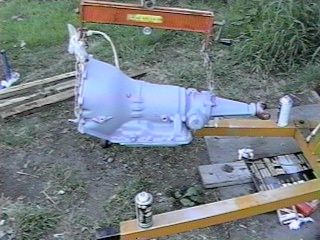
Next a layer of self-etching primer on the bottom.. (love that stuff.. ror34-7.jpg)
And the neat Silver “Commercial Coating” from NAPA.. (real good paint, ror34-8.jpg)
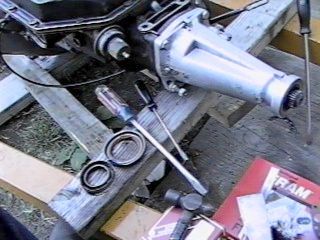
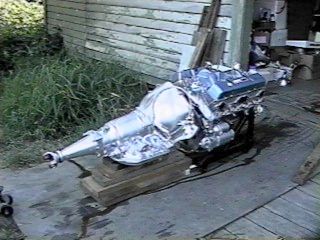
Then it
was time to flip the tranny over and get it up to working height for masking
and painting topside. (ror34-9.jpg)
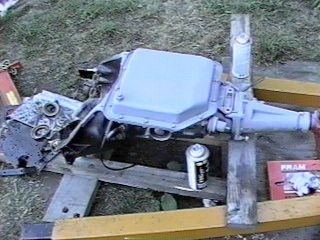
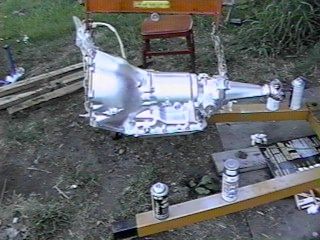
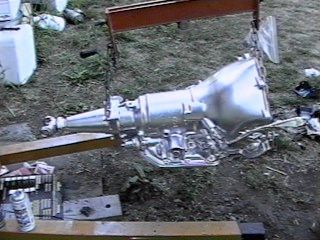
Then two coats of that great primer. (ror34-10.jpg and ror34-11.jpg)
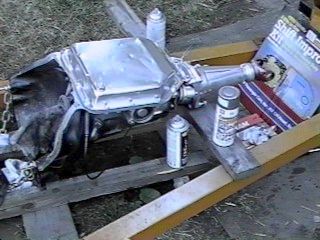
followed by two coats of the Silver (pretty fast too as the primer dries in
about 5 minutes).. That baby is
starting to look like something from the engine room of the Starship
Enterprise.. (ror34-12.jpg
and ror34-13.jpg)

More to
come..
Rick
Draganowski
(Beam me up,
Scotty)
Subject: Return of Rustpuppy report 35
Date: Tuesday,
August 08, 2000 9:04 PM
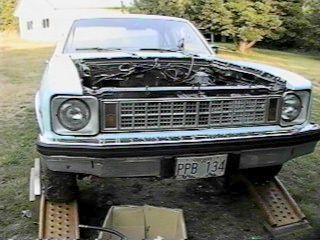
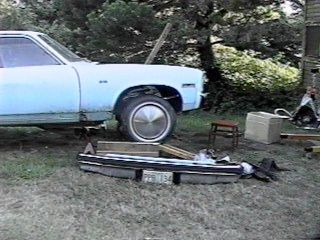
Things
are coming together for Goody and the TH350 so today some thought was given to
the place Goody goes. I have sworn
never again to pick a motor up as high as I did when removing Knocker. So the grille and top crosspiece in the
“Core Mount” (source C. Butcher)
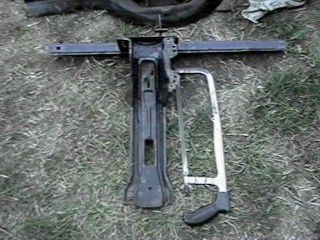
had to go. First the grille
(ror35-1.jpg) was out in a jiffy (6 sheet metal screws) and then the hacksaw
fetched to attack the crosspiece.
(see ror35-2.jpg and ror35-3.jpg)
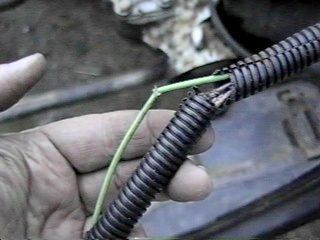
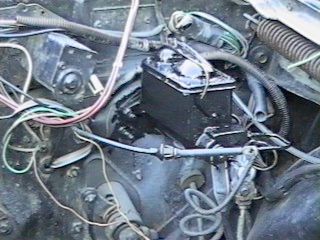
Naturally
since ol’ Dumbbutt Draganowski was pressed for time (due to an unusually large
“real” workload today and darkness falling) he plumb forgot about the headlight
harness running through the thingie he was cutting until he could see it pushed
down below the cut.. Some damage
was done..(ror35-4.jpg) I
feel so stupid sometimes. Whenever
I get in a hurry I just make more work for me to do.. Duhhh..
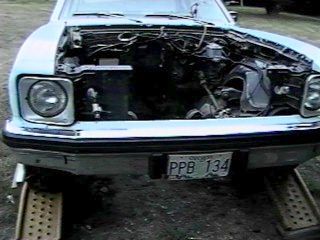
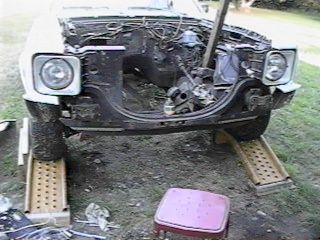
Anyway
the lift height for the motor went from a dizzying 47” hurdle to a much more
reasonable 35” hurdle. And if I
pull off the front bumper it drops to 28”.. (I probably will pull the bumper assy and weigh it
too.. Tomorrow...)
More to
come...
Rick
Draganowski
(sawing up
his wiring harness.. )
Date: Friday, August
11, 2000 12:31 AM
A nice
sunny day to make up for yesterday and the promised bumperectomy took
place. The eight nuts on the stud
plates were off in a jiffy after some wd40 hit them and the bumper was free and
laying next to Rustpuppy.
(ror36-1)The last time I had the front bumper off was back in 94 when I
did the first motor transplant. I
can’t believe how much heavier it has become. I weighed it to make sure and with the tin bumper trim and
it’s three brackets and the license plate it weighs exactly 70 lbs. The hydraulic shocks are probably
another 20 so the Disco bumpers add about 180lbs to the car.
You can
see that Goody will not have to go very high as it is a straight shot into the
motor compartment. (ror36-2.jpg
and ror36-3.jpg)

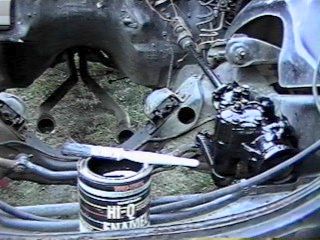
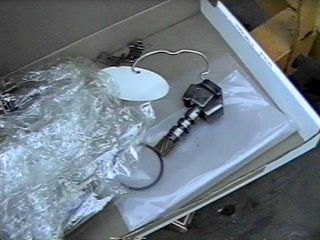
I used
the balance of todays Nova moment to clean up and paint the steering box and
master cylinder. You can see the
results. I used a brush on
Polyurethane Enamel which for some reason is no longer available locally. Probably EPA regs or something.. (ror36-4.jpg)
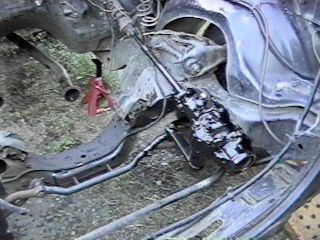
Much
better now... (ror36-5.jpg and
ror36-6.jpg)
More to
come..
Rick
Draganowski
(governor
madness next..)
Date: Sunday,
August 13, 2000 9:55 PM
Having
the transmission all buttoned up and shiny with silver paint naturally I
scarred up the paint taking it apart again. It is governor stuff this time. Back when this TH350 was a respectable light truck
transmission GM blessed it with a transmission governor which caused the 1-2
shift at 3800 rpm and the 2-3 shift at 4400 rpm. Not the hot setup for a small block with a cam.. I replaced the truck governor with a
replacement generic TH350 governor from NAPA. This raised the 1-2 shift to 4800rpm but left the 2-3 shift
still at 4400.. Naturally the
second or third time I used the raised shift points the old Target Master in
Rustpuppy started knocking.. Last
December..
Anyhow
ror37-1.jpg shows the freshly painted governor area ready to be scratched
up. The wire bale did not fit
tight and I was concerned about the cap leaking later. More on this later..
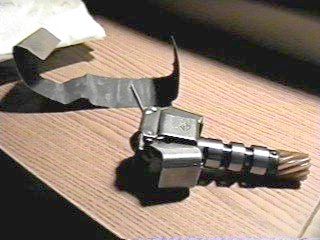
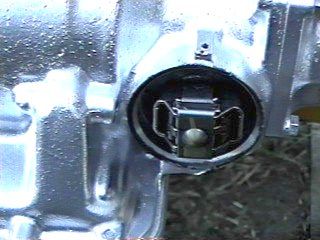
Ror37-2 shows the home of the governor..
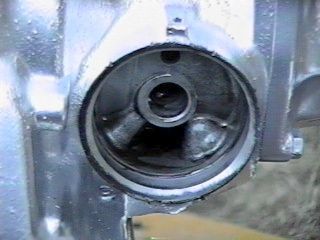
Here the governor is just before tearing it apart.
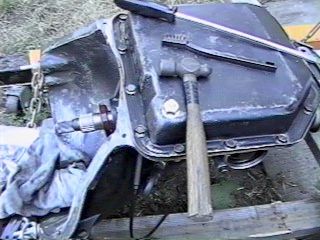
The next pic shows why the wire bale fit so loose. Someone (not me!) pounded the center of
the cap in. (ror37-4.jpg) A couple of hits with a long socket and
a ball peen hammer put it right in a jiffy.
The best
way of getting the case-hardened finishing nails that GM uses for flyweight
pivot pins is to grind the flattened ends off. Note that the governor is encased in a shroud to prevent
grit from gettin in the works..(ror37-5.jpg)
Here it is with the pins ground off and the shroud
discarded.. (ror37-6.jpg)
Next
post will continue the Governor modification saga..
More to
come..
Rick
Draganowski
(finishing
nails? yup..)
Date: Sunday,
August 13, 2000 9:56 PM
After
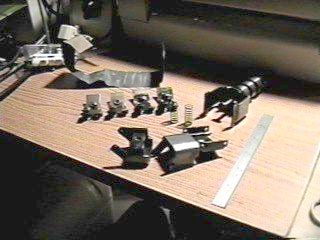
the ground off finishing nails were pulled the governor came to pieces on my
desk. You will note the four inner
weights in the rear, The two on
the right are the (still dirty) old standard weights and the two on the left
are the modified replacements.
(ror38-1,jpg) About 15% of the mass involved in the governing effect has
been ground off. Since the action
of the governor (based on centrifugal force (centripetal to the purists)) is a
second power function I estimate that the 1-2 shift will be put off till just
above 7000rpm.. Hoo haa!
Putting
the springs between the inner and outer flyweights is a lot easier with the
governor apart. (ror38-2.jpg and
ror38-3.jpg) Thinking of Ray
at this point and the complaining he done on the spring changing..
Ror38-4.jpg
shows the governor going back together with custom polished finishing
nails.. (had to polish them in a
drill with 220 grit wetordry to get them to fit)
Next you can see the springs lurking inside and the extra
long custom racing finishing nails..
( ror38-5.jpg with wetordry in background)
Then I
placed the “Super Racing Modified Governor” in a cocoon to protect it while
grinding off the extra length of nails and pounding them flat.. (my kinda work.. ror38-6.jpg and the finished
product ror38-7.jpg)
Then the
“Super Racin Modified Governor” found it’s home and the door closed followed by
some touch up spray of sliver and we are done.. (ror38-8,jpg and ror38-9,jpg..)
More to
come..
Rick
Draganowski
(in low
impact working mode, not ready for strenuous stuff..)
Date: Monday,
August 14, 2000 10:01 PM
I pulled
it out and put the stock weights back in this evening, thanks Chuck, Craig,
Tom, and I think Bruce..
Rick
Draganowski
(ol’
dumbbutt..)
(learning
the hard way..)
P.S. the
picture shows the governor with the stock weights back in and the modified ones
laying on the desk..
P.P.S. Duhhhhh...
-----
Original Message -----
From: Chuck Butcher
<cbutcher@triax.com>
To: Rick
Draganowski <dragan@harborside.com>;
Craig Watson
<cwwats@speedsurfing.com>; <nova@seas.smu.edu>
Sent: Monday,
August 14, 2000 9:34 PM
Subject: Re: [nova] Return of Rustpuppy
report 38
| Yes
| Chuck
Butcher
| 62 Chevy
II Nova 400 2dr Sedan
| 74 K5
| Don’t
force that, son, get a bigger hammer
| http://sites.netscape.net/chuckbutcher/homepage
| -----
Original Message -----
| From:
“Rick Draganowski” <dragan@harborside.com>
| To: “Craig
Watson” <cwwats@speedsurfing.com>;
<nova@seas.smu.edu>
| Sent:
Monday, August 14, 2000 4:26 PM
| Subject:
Re: [nova] Return of Rustpuppy report 38
|
|
| >
Oh nuts! This means having to undo
the modification I just made..
| >
| >
Are you sure?
| >
| > Rick
Draganowski
| > (learning
the hard way..)
| >
| > -----
Original Message -----
| > From:
Craig Watson <cwwats@speedsurfing.com>
| > To:
<nova@seas.smu.edu>
| > Sent:
Monday, August 14, 2000 4:08 PM
| >
Subject: Re: [nova] Return of Rustpuppy report 38
| >
| >
| >
> The governor controls the automatic shifts. If its set up to shift at | > 7000, | > > then if
you move the shifter from 1st to 2nd at less than 7000
rpm, the | > > tranny will wait until 7000 rpm (if full throttle is still
applied) to | > > shift.
| > >
| >
> Now that you have a ratcheting shifter (so that you can’t blame your |
> column | > > shifter any longer), just shift it manually. This will require a | governor | >
> set to shift lower than your desired shift points.
| > >
| >
> For instance, my tranny’s governor is stock and shifts at 4500 at WOT.
| >
But
| > >
I shift manually at 5500 with the 307 and expect to shift at about
7000
| > with
| > >
the new and improved 383.
| > >
| >
> Craig
| > >
| > >
| >
> ----- Original Message -----
| >
> From: Rick Draganowski <dragan@harborside.com>
| >
> To: <Chevyllwagon@aol.com>;
<nova@seas.smu.edu>
| >
> Sent: Monday, August 14, 2000 4:49 PM
| >
> Subject: Re: [nova] Return of Rustpuppy report 38
| > >
| > >
| >
> > Huh?
| >
> >
| >
> > Explain please.
| >
> >
| >
> > Rick Draganowski
| >
> > (always learning, sometimes the hard way..)
| >
> >
| >
> >
| > >
> ----- Original Message -----
| > >
> From: <Chevyllwagon@aol.com>
| > >
> To: <nova@seas.smu.edu>
| > >
> Sent: Monday, August 14, 2000 9:33 AM
| > >
> Subject: Re: [nova] Return of Rustpuppy report 38
| >
> >
| >
> >
| > >
> > but if you modified the governor to shift at 7,000 the trans won’t
| > shift
| > >
> into
| > >
> > second till 7,000 even if you put the shifter in second at 5,600.
| > >
> > tom
| >
> > >
| >
> > > In a message dated 8/14/00 1:29:07 AM Eastern Daylight Time, |
> > > > dragan@harborside.com
writes:
| >
> > >
| > >
> > << I agree 100%. I
will be shifting at 5500-6000 with the neat
| Hurst
| > >
> > Pro-Matic
| >
> > > rachet shifter Ray
and Scott talked me into I did not want to be | > > > overruled | >
> > > at 4400 rpm by the
governor..
| >
> > >
| > >
> > Rick Draganowski
| > >
> > (Goody has a 6000rpm
redline..)
Date: Wednesday,
August 16, 2000 10:02 PM
Have
been feeling better the last couple of days and was able to horse some stuff
around getting ready to mate the TH350 to Goody. (ror40-2.jpg, ror40-3.jpg and 40-4.jpg)
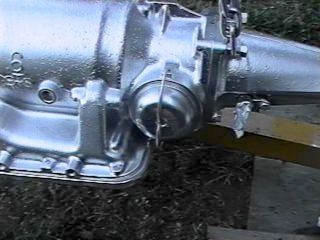
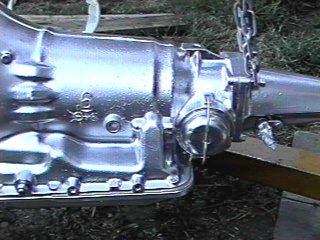
Since I
have no stable way of raising the tranny to mate to the motor I blocked up the
tranny higher that the motor and will lift up the motor and mate it to the
tranny.. Backwards but effective..
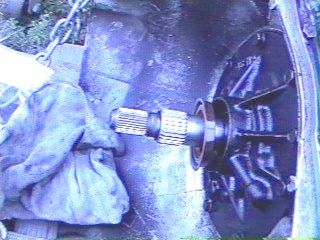
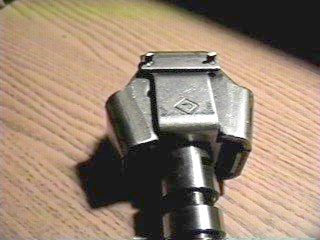
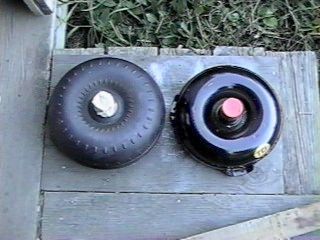
Ror
40-5.jpg shows the stock 12” truck converter that Rustpuppy was stuck with next
to the neato 11” TCI Break-A-Way 2800rpm stall job I got from Jeg’s for 200
bucks.. I expect that it will be
money well spent..
By the
way, I forgot to take an exact measurement, in my excitement during
disassembly, so could someone tell me the distance from the transmission
bellhousing flange surface and the mounting ears on the converter when it is
fully mated into the pump dogs? (long sentence.. better watch that) I want to be really sure I don’t mess
it up..
More to
come..
Rick
Draganowski
(progress is
good)
END OF
CHAPTER 5
![[ Back Button ]](../gif/t_back.gif)
![[ Go Home Button ]](../gif/t_home.gif)
![[ Next Button ]](../gif/t_next.gif)